Choose the notes
Pick a key and one of 13 scales, or make your own. Give each wall an octave offset, mute it, or set a fixed drum note.
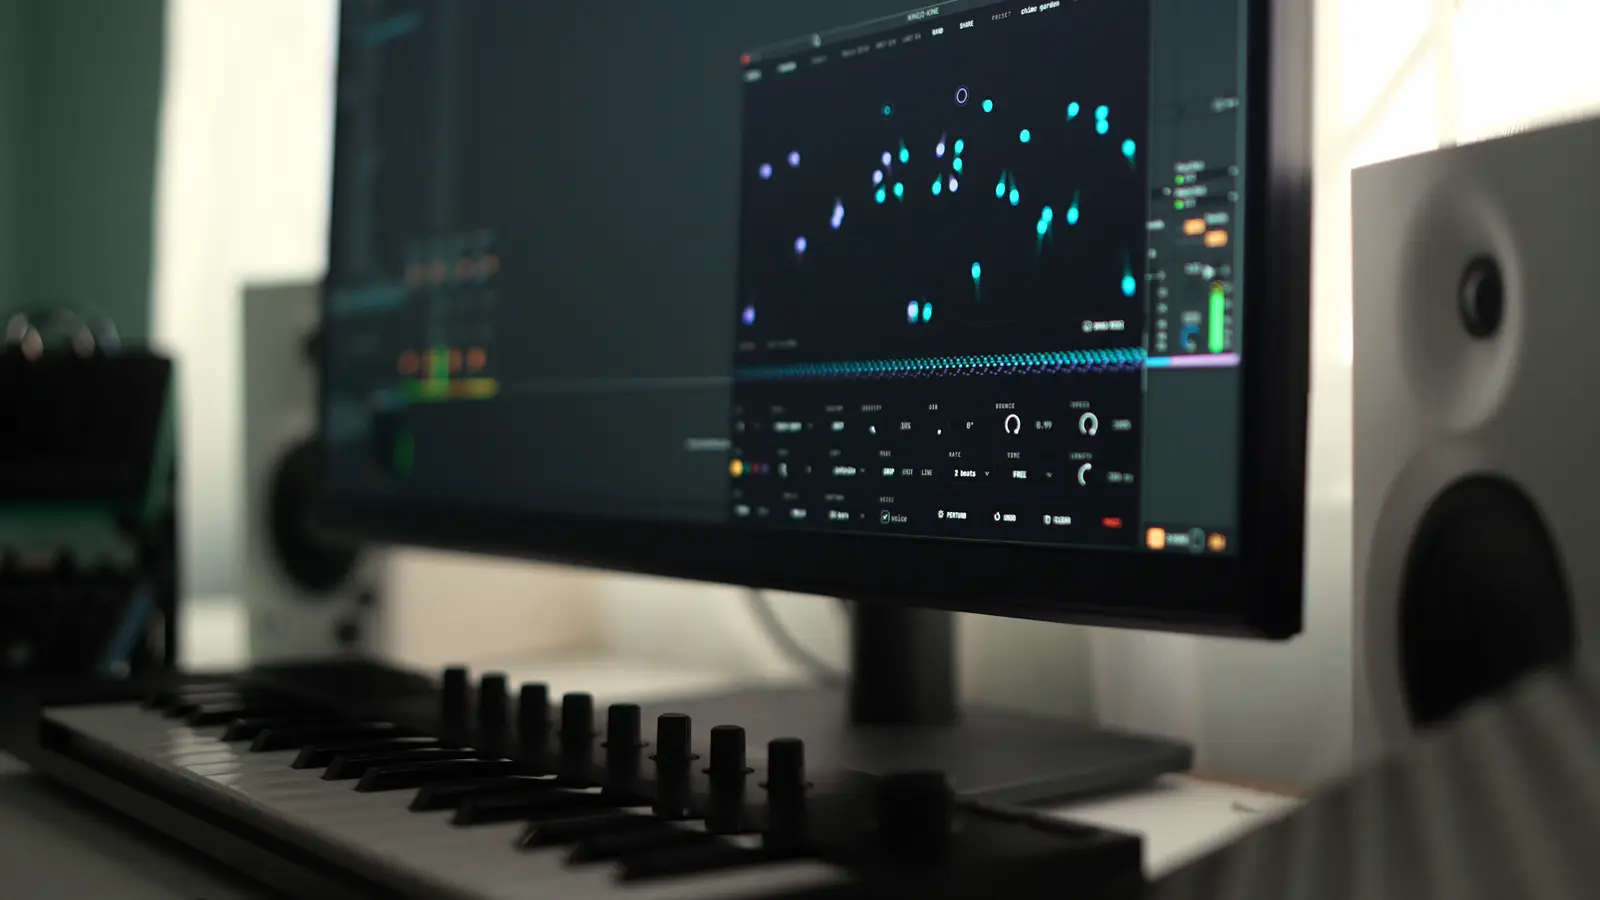
A MIDI instrument built around moving objects.
01 / Perform
Click to drop a ball, or drag to throw it. Where it hits a wall chooses the note. How hard it hits sets the velocity. Change the space and the phrase changes with it.
Pick a key and one of 13 scales, or make your own. Give each wall an octave offset, mute it, or set a fixed drum note.
Let notes land at the moment of impact, or pull them towards a beat grid. Adjust gravity, bounce and speed to change the pattern.
Place emitters that throw balls on a beat interval. Mix their rates for interlocking rhythms, or draw lines to send a phrase in a new direction.
Play from a MIDI keyboard: notes choose the drop position, velocity sets the throw, and the channel picks the colour. Automate Speed to slow a phrase down or freeze it in place.
02 / Sculpt
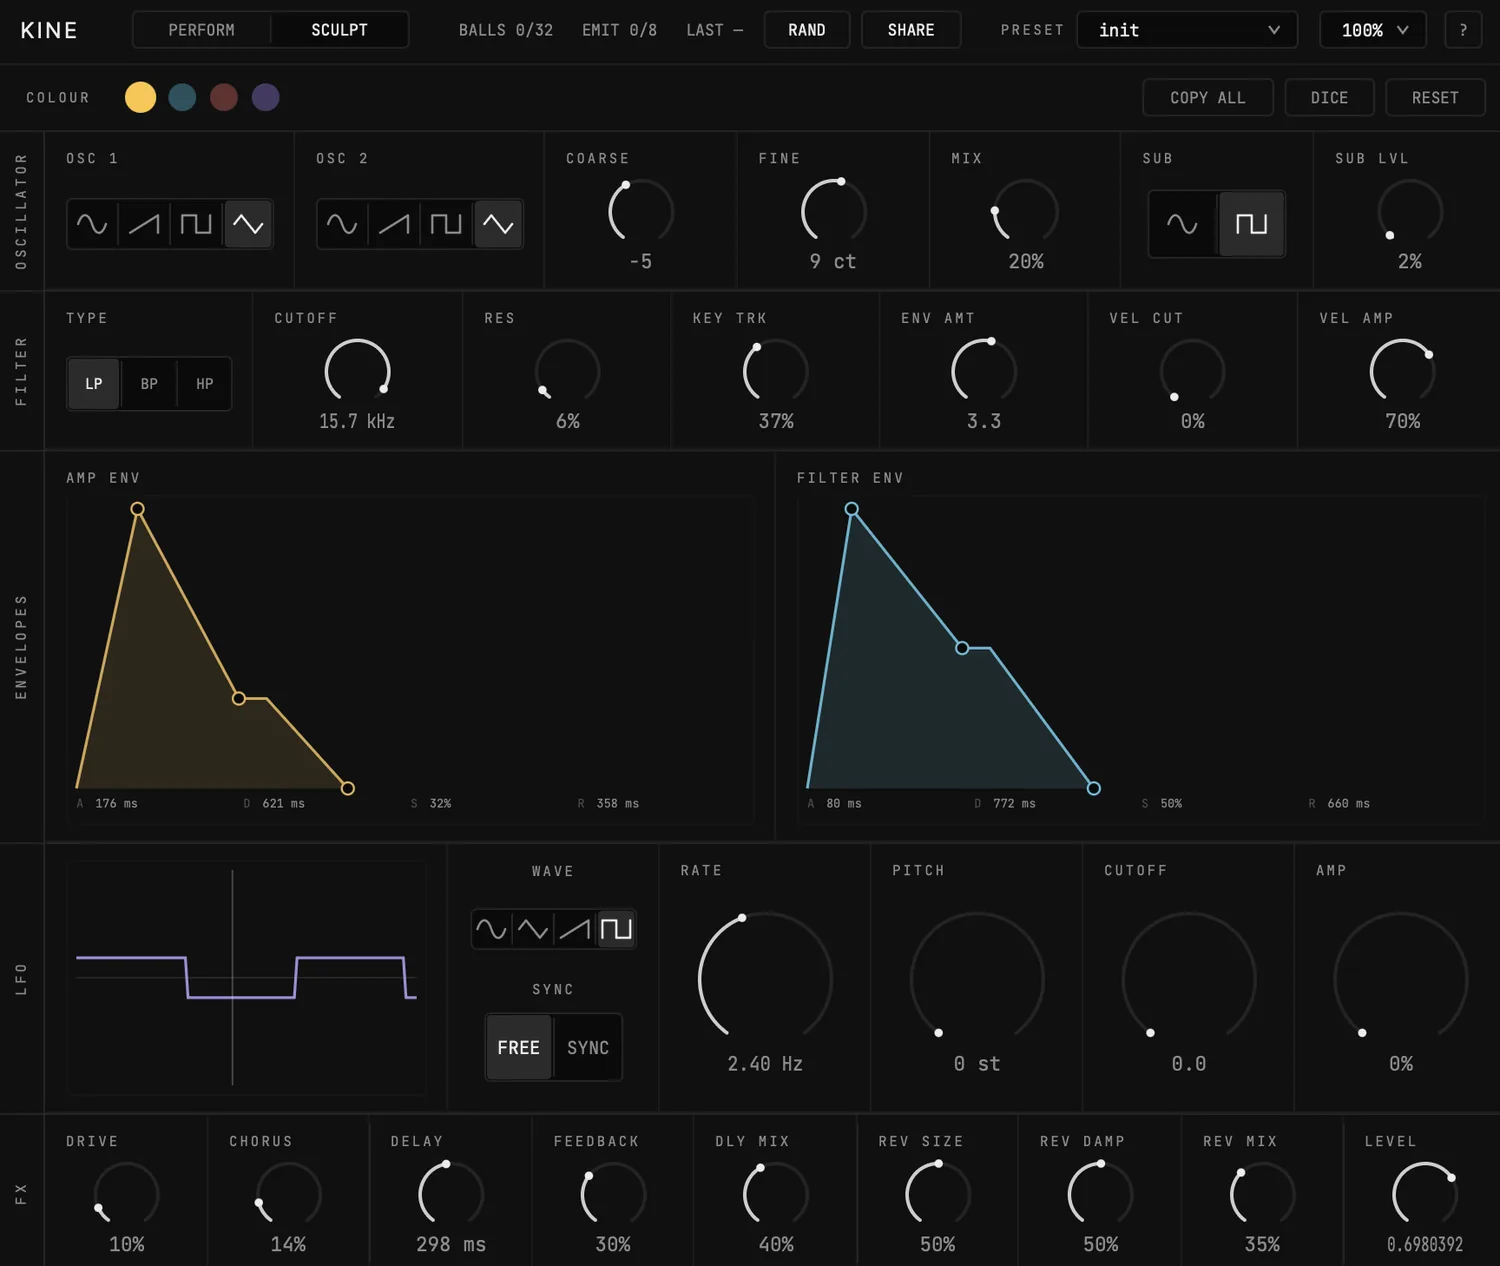
Give each colour its own sound. A bass, a pluck and a pad can all follow different paths through the same space.
The VST3 and AU instrument include a synth for each colour. Shape a voice yourself, or use Dice to try a new sound while the pattern keeps playing.
03 / Capture
Capture is already running. When a phrase catches your ear, drag the lane into your DAW and make it part of the track.
Choose a rolling window of 8, 16 or 32 bars. Exported MIDI keeps the four colours on separate tracks, ready for editing and your own instruments.
The capture lane collects notes as they happen. No record button to arm.
Grab the lane and drop it onto a MIDI track before it rolls out of the window.
Edit the notes, swap instruments, or take one colour and build around it.
Kine saves its patch with your project. Share codes carry the physics, scale, walls, lines, emitters and sounds, so you can pass a setup to someone else.
In your session
The VST3 and AU instrument include a four-part synth. They can also send MIDI to another instrument where your host supports plugin MIDI output. Kine MFX, the AU MIDI FX version, sends MIDI only and needs an instrument after it.
Yes. Route Kine's MIDI output to an instrument in your host, or drag the capture lane into a MIDI track. The four colours use channels 1 to 4 on one MIDI output. Splitting colours between instruments live requires routing that can filter by MIDI channel.
Use the built-in synth while you play, then drag the capture lane onto a MIDI track in a DAW that accepts MIDI-file drops. In Logic Pro, use Kine MFX in the MIDI FX slot before your instrument for live MIDI.
Capture keeps a rolling window of 8, 16 or 32 bars, rather than a whole session. Older notes leave the window as new ones arrive. Very dense patterns can also fill the note buffer, so drag out a phrase when you want to keep it.
Kine is a plugin for a DAW or another compatible plugin host. The download does not include a standalone app.
We record your download request with your email address. The download starts in your browser after you submit the form. Newsletter updates are optional and have a separate checkbox.
Email hello@noemaudio.com with your operating system, DAW and its version, the Kine format you loaded, and what happened. Steps to reproduce the problem help us investigate.
VST3, AU and AU MIDI FX. macOS 11+, Windows 10+. 64-bit.