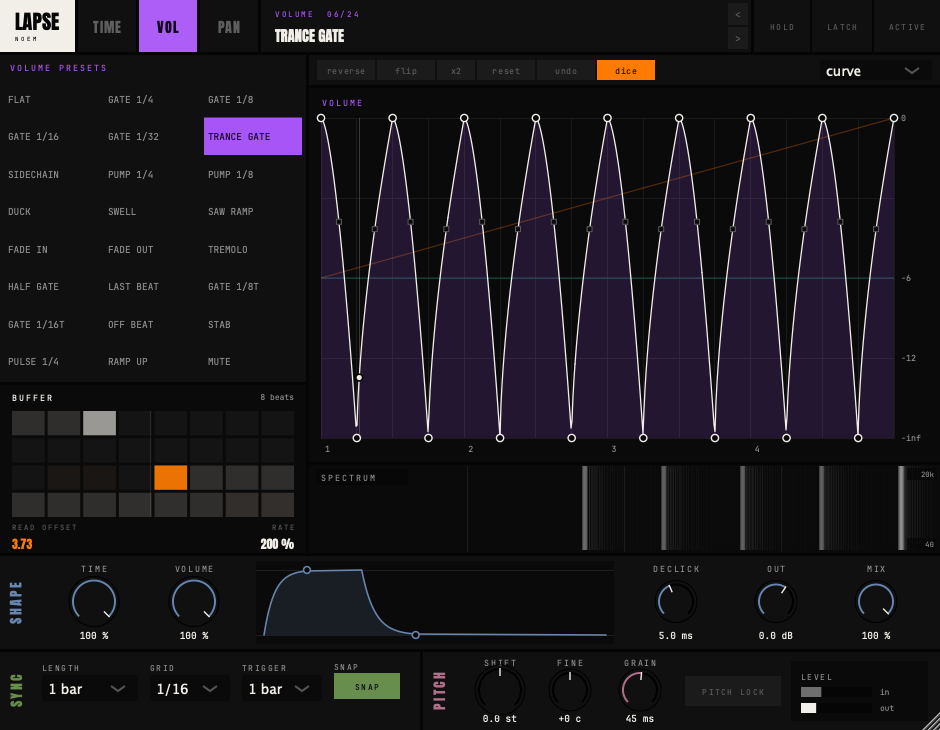
Volume
Gate a pad into a rhythm, draw a pumping bass line, or ease a sound in with a swell. Attack and Release soften the edges.
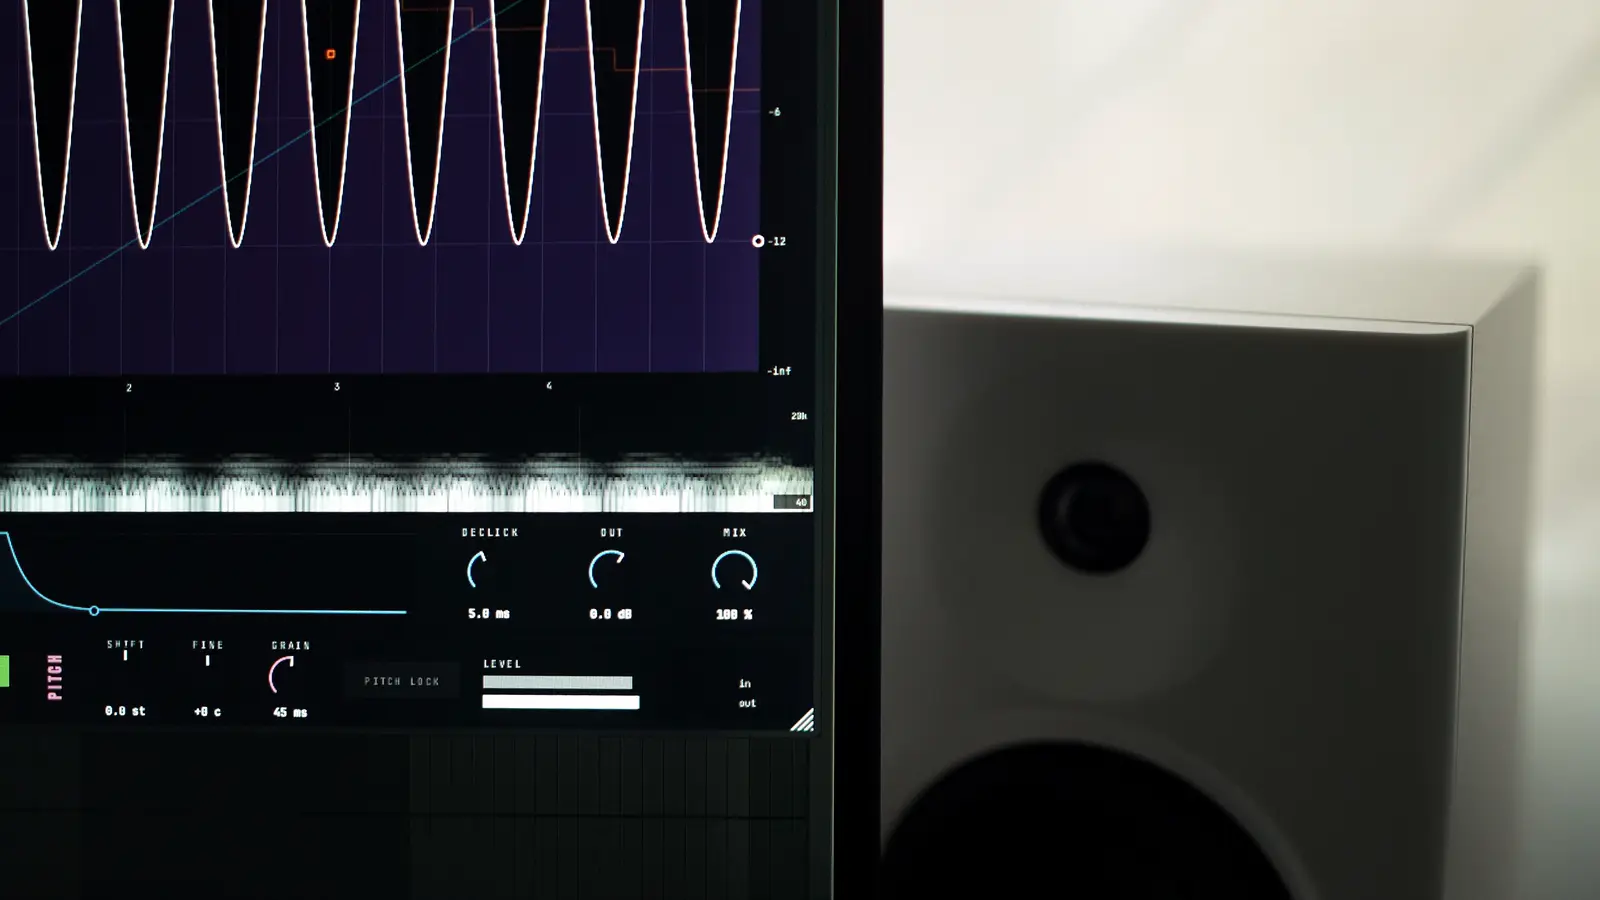
Lapse
Turn incoming audio into stutters, tape stops and moving rhythms with three drawable lanes for time, volume and pan.
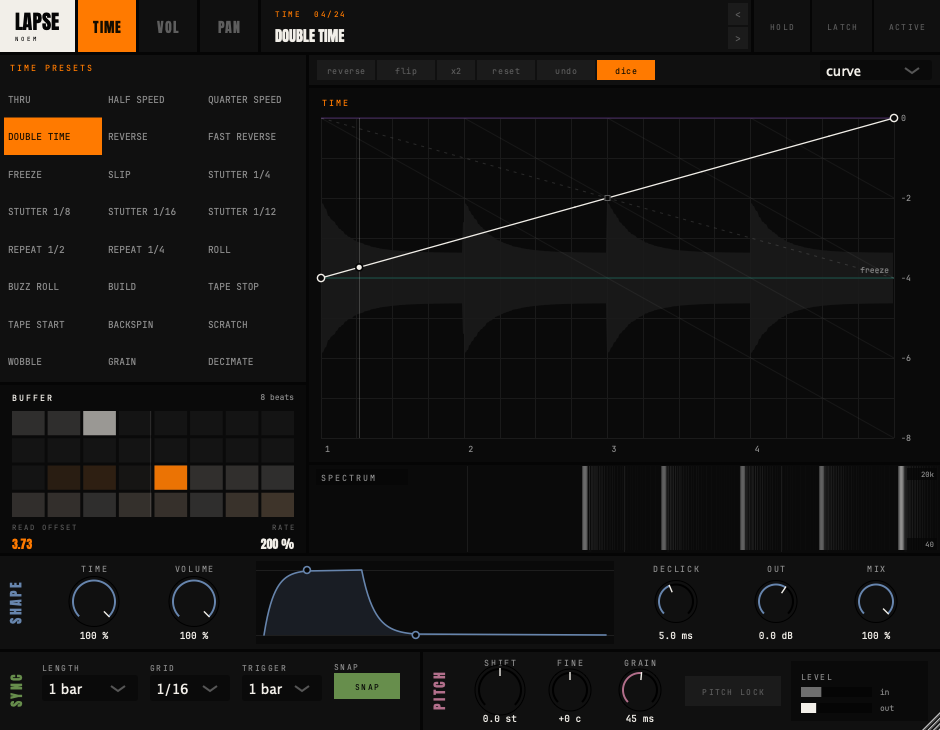
01 / Time
Turn a drum loop into a stutter, drag a note into a tape stop, or run a phrase backwards.
Put Lapse on an audio track or after an instrument and press play. It keeps a rolling buffer of the incoming audio. The Time lane draws a path through it, changing what you hear next.
02 / Volume & pan
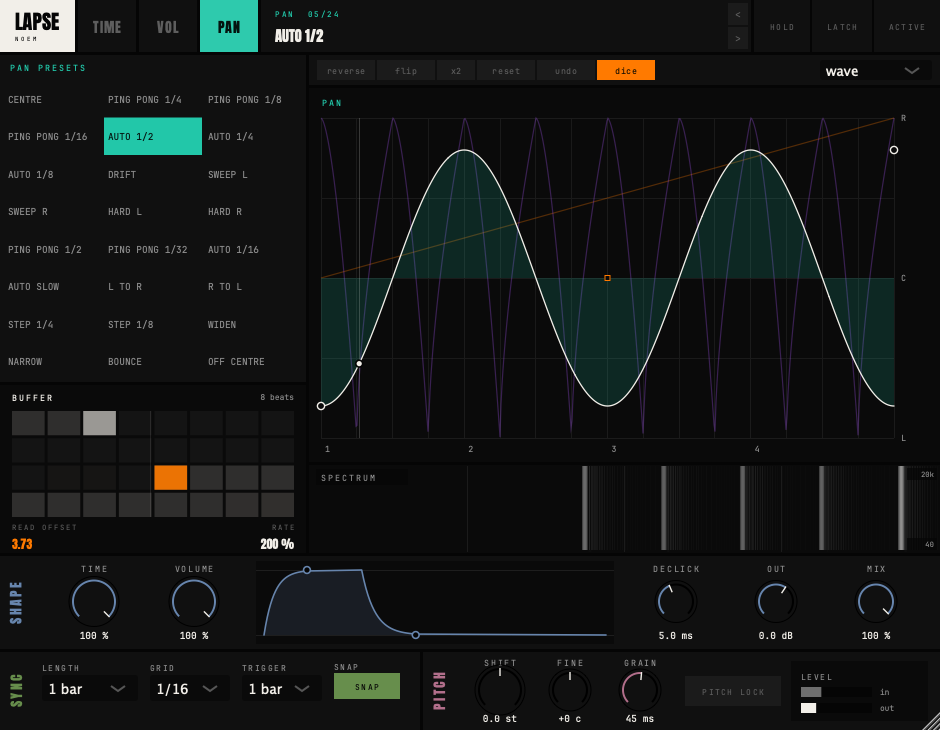
Three lanes, working together. Change the rhythm, the level and where the sound sits in the stereo field.
Each lane has 24 presets of its own. Try a new pan pattern without losing your volume shape, or leave Time on Thru and work with just volume and pan.
Gate a pad into a rhythm, draw a pumping bass line, or ease a sound in with a swell. Attack and Release soften the edges.
Send hits from left to right, sweep a texture across the stereo field, or add a slow drift. Draw how far it moves and when.
03 / Draw
Click to add a point. Drag it into place, then bend the line between points. The other two lanes stay visible behind the one you’re editing.
Start from a preset or draw from scratch. Choose a curve, S-curve, hold, stairs, pulse, wave or half sine for each segment.
Loop the shape over half a bar, one bar or two. Snap points to the beat grid, including triplets, or switch Snap off to place them freely.
Reverse or flip the drawing. Use ×2 to repeat it twice in the same space, or Dice to try a new shape. Undo brings the previous edit back.
Choose when a new preset takes over: immediately, on the next beat or on the next bar. Save your own presets to bring all three lanes back together.
Adjust the Time and Volume amounts separately, then use Mix to blend the whole effect with the original. Your shapes and settings save with the DAW project.
Load it as an audio effect on an audio track, a bus, or after an instrument. It processes the sound passing through it, so it needs incoming audio and your DAW's transport running. It does not generate sound of its own.
Yes. Leave the Time lane on Thru and choose a Volume or Pan shape. Each lane has its own preset bank, so choosing a new shape for one does not replace the shapes in the others.
Choose half a bar, one bar or two bars for the envelope cycle. This is separate from the rolling audio buffer, which lets the Time lane reach back up to eight beats. Both follow the project tempo.
By default, yes: slower playback lowers pitch and faster playback raises it. Pitch Lock compensates for the pitch changes caused by the Time envelope. The separate Shift control covers 24 semitones up or down, with Fine for adjustments of up to 100 cents either way.
Declick crossfades jumps in the Time lane, with a range of 0 to 12 ms. The Volume lane has separate Attack and Release controls for smoothing level changes. Start there if a gate or a time jump sounds too sharp.
Lapse reports zero samples of plugin latency to the host. Time shapes can deliberately replay earlier audio; that is part of the effect, rather than an extra delay applied to every signal.
The three envelopes, parameter settings and user presets are saved with the DAW session. The rolling audio buffer is not: it fills again from the incoming audio when you play the project.
VST3 and AU. macOS 10.13+, Windows 10+. 64-bit.